This DIY makes you feel like an artist while requiring zero art skills. You can have it say or be anything. If you can print it you can make it. With a home printer and some old school transferring technique the sky is the limit.
When I got my new house the #1 thing that made me fall in love with this house was that you could see the lake from every single room in the house; living room, kitchen and bedroom. This is when I became lake obsessed and my house (and co-workers) payed the consequences. I saw this amazing canvas on Pinterest from Etsy but at $150.00 plus shipping I couldn't afford it. When my husband was looking at my Lake House board on Pinterest and said "I like that lake sign" it was clear I had to make it. I only had to buy the canvas and found it for $5.00 at Walmart so I saved $145.00 by making it myself plus I got to choose the font and the color I wanted. That my friends is what I call smart. A.K.A. faking fancy.
Inspiration:
 |
| $150.00 Canvas Art |
It took some brainstorming and some trial and error but look how beautiful and cool they look in my kitchen. All that printer ink sacrificed was totally worth it.

Ok lets get to it!
Materials:
- Canvas (I used two 7 x 14")
- Computer
- Printer
- Printer paper
- Pencil
- Tape
- Scissors
- Ruler or Tape Measurer
- Acrylic Paint
- Brush

Steps:
- Pick your canvas size and word or clipart. Decide more or less how to arrange it. As I said your imagination is the limit. You might need to print one word per paper or use several papers for one word (the Microsoft Word banner format is great for this). Here are some other examples of what you can do. You can use one canvas or a hundred. Everything at this point is up to you. You can even do one like mine that says Beach or Fun with an arrow.


- Print and cut your words and arrow so that they fit comfortably in your canvas. This is your trial and error phase. You might have to re-size and re-print several times. Now you have your templates.
- Play with your paper templates over your canvas until you are happy with what you see. I measured to make sure everything was centered and looked nice.

- Turn your template papers around so that the back of the paper where nothing is printed is facing you. Color with a pencil around the outline of your template. If you are from the '80s or '90s you know how to do this. Millennials here is one more thing for you to love from the '90s.


- Arrange the templates on top of the canvas in the position you would like your words to be and tape them. The printed side should be facing you and the pencil side should be facing the canvas. If you want your canvas to be something other than white, you should paint and wait for it to dry before this step.
- With a pen or the same pencil trace the outline of the template. If you want perfect straight lines use a ruler. After you are done un-tape one corner of the template and make sure the complete design was transferred. You might have to go over it a few times but in my case once was enough. You should now have a perfect outline in your canvas to paint.


- Paint your canvas following the outline. It's like a coloring book but with paint. I picked a font that would look ok if I messed up and was really careful with the arrow. This part was super fun. I felt like Picasso, if Picasso was a 5 year old coloring inside the lines. You might need two coats for some colors. If you are using more than one color I recommend you wait until each color dries before moving to the next one.


You did it! Once again call yourself an artist and, who knows maybe you can sell them for $150.00 too!
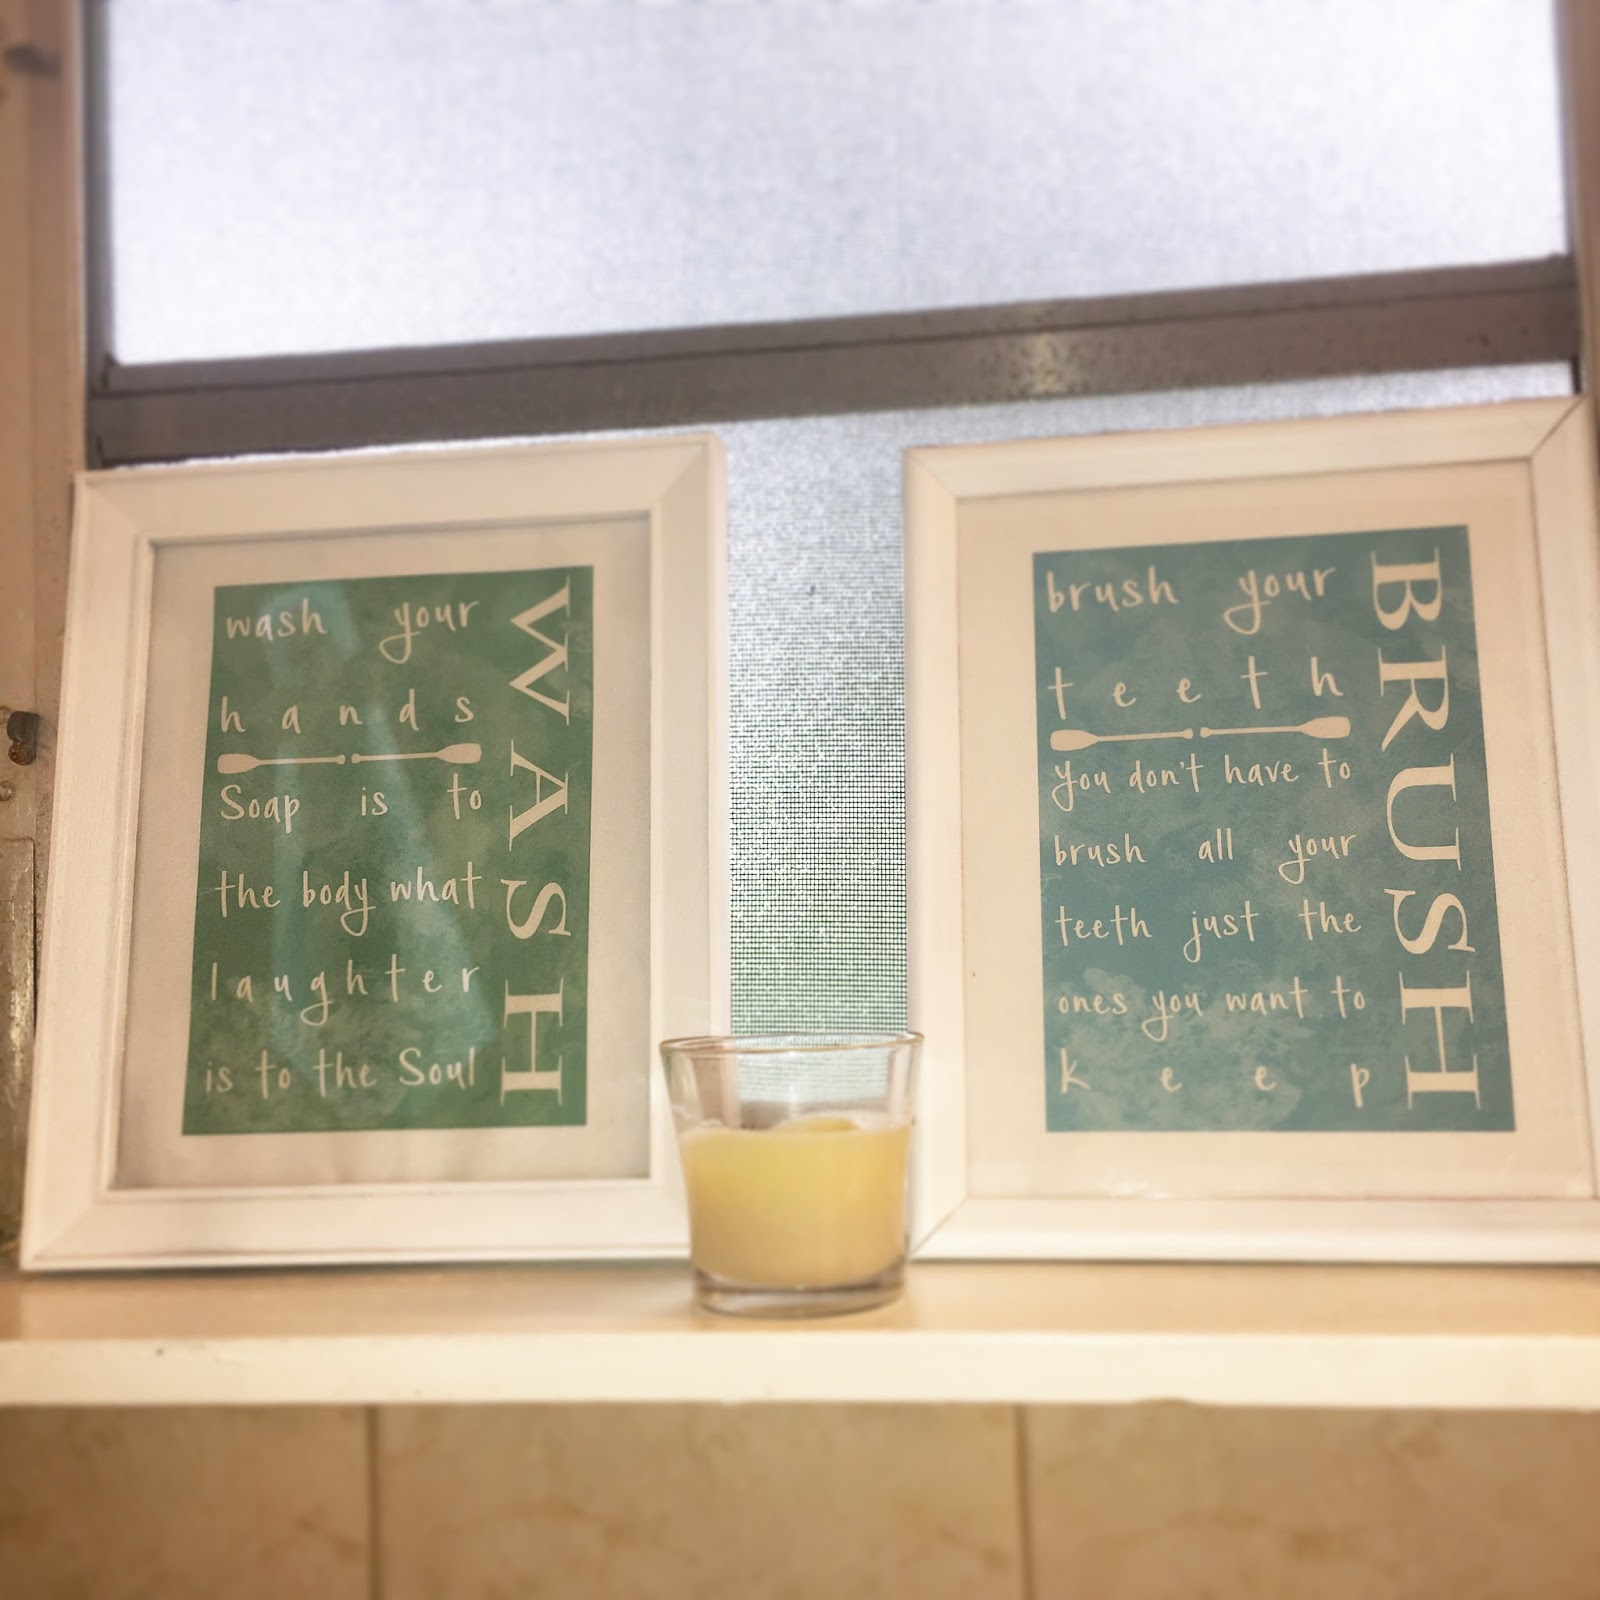
If you like Lake decorations com back soon for more and check out these super easy Word Art Frames for your bathroom.
I truly hope you all have a wonderful day and lots of good vibes.