


I've always liked mermaids. It comes from my fascination with everything Sea, nautical and coastal. I've been loving all the new mermaid clothes, decorations and accessories drowning the internet but it is way too hip and young for me to admit I want them (my goth child still lives in me). I decided to keep the Coastal theme on my vanity but go really Glam Sea with it and that's where this beauty was created. I got a chance to get my mermaid on.

The only thing I knew starting this project was that I wanted it to be a mermaid. I had no final product in my mind or a clear idea of what I wanted to do. I just started playing with the materials I had at hand and collected some on my walk home from work (shells).
The hole entire time I was making this I had the Little Mermaid sound track in my head. This DIY is so easy and neat. The color options are endless. I dare you to make this without singing Under the Sea and Part of your World on your head even if you think you don't know them.

The hole entire time I was making this I had the Little Mermaid sound track in my head. This DIY is so easy and neat. The color options are endless. I dare you to make this without singing Under the Sea and Part of your World on your head even if you think you don't know them.

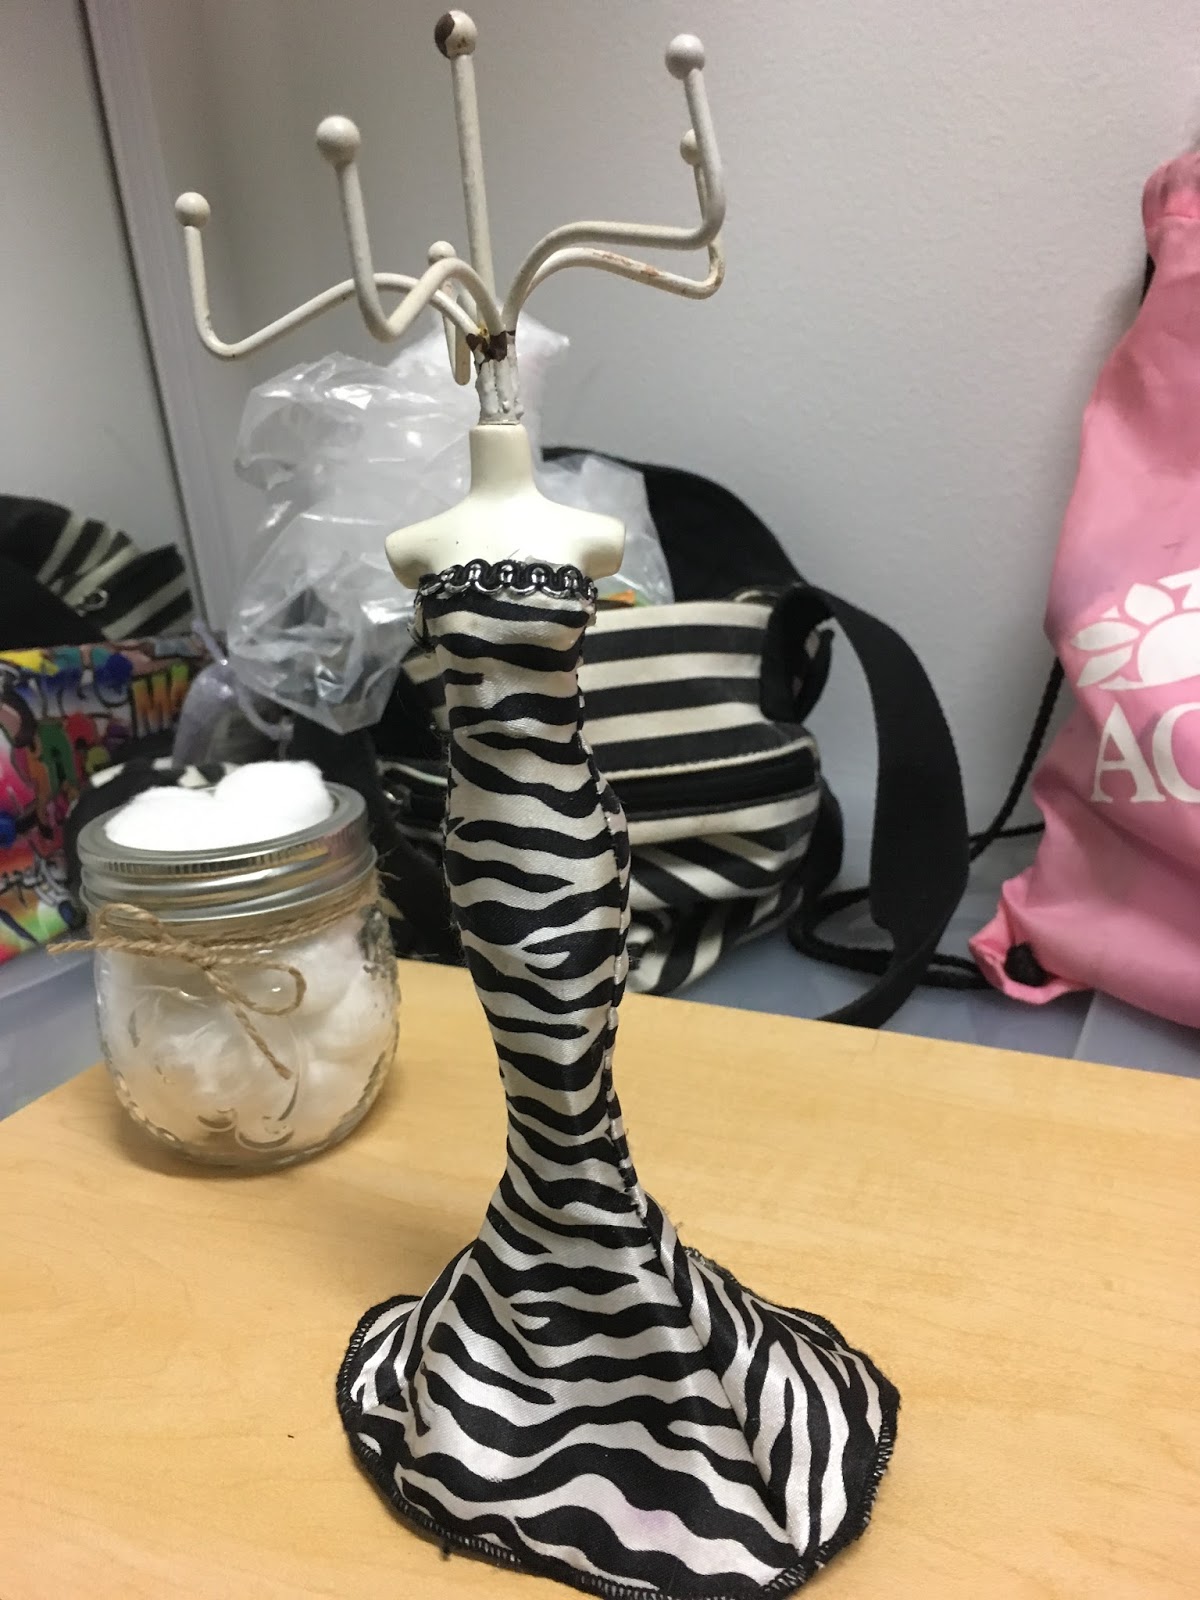
You can find a jewelry organizer like the one below on thrift shops, flea markets, yard sales and even dollar stores. The other materials you probably already have or can easily get.
Materials:
- Mannequin Jewelry Organizer
- Small Shells
- Nail Polish
- Nail Polish
- Make up Sponge
- Bath Sponge
- Rope or thread
- Scissors
- Painters tape
- Hot glue gun
- Bath Sponge
- Rope or thread
- Scissors
- Painters tape
- Hot glue gun
Steps:
- Undress the mannequin. You might have to scrape the glue holding the dress together.
- Paint the metal part where the jewelry goes. I used a gold sharpie loosely so it looked aged. The gold sharpie did an amazing job at hiding the rust.
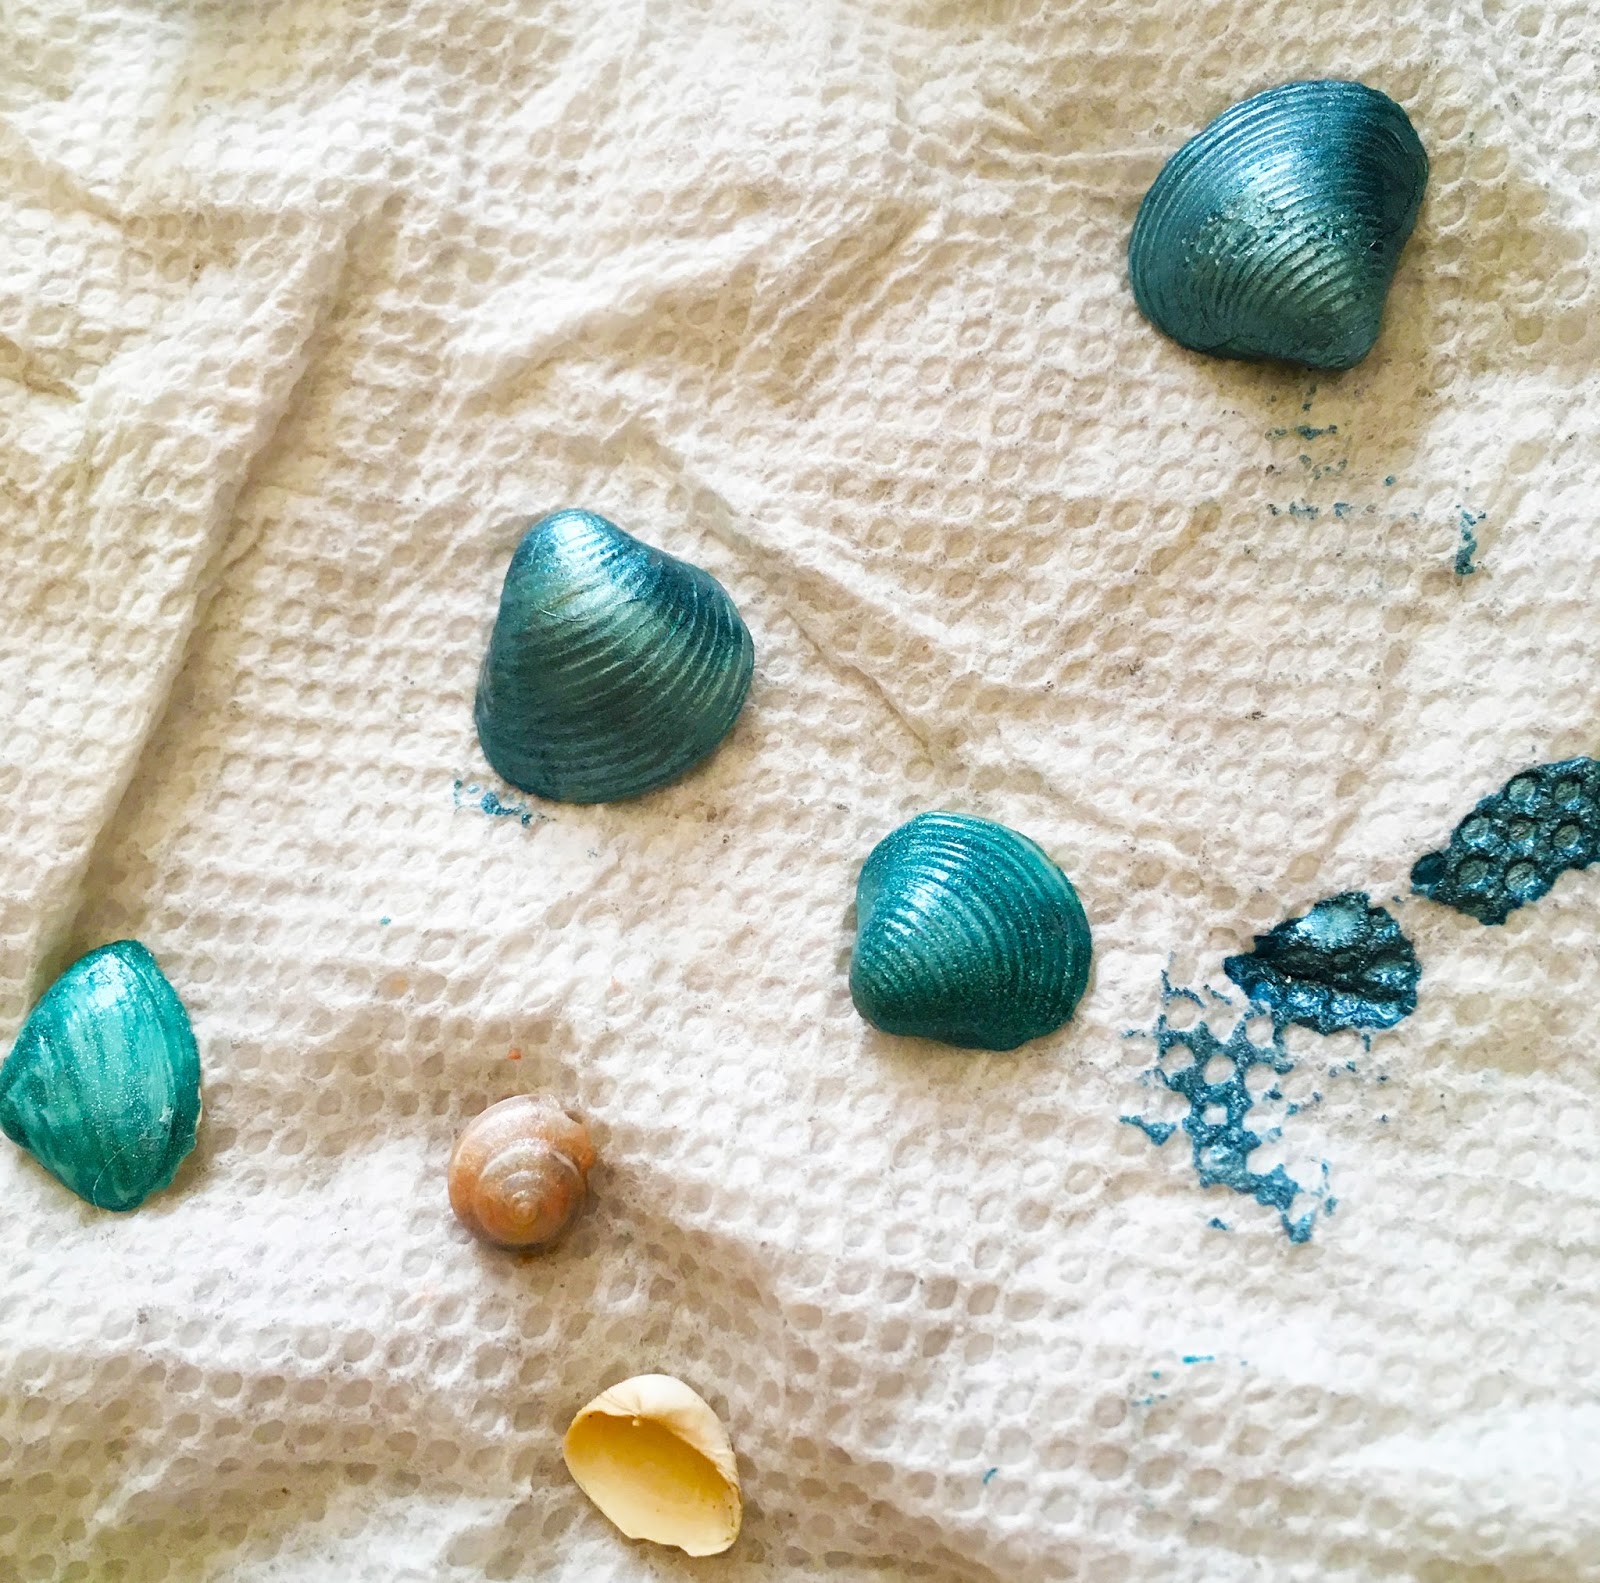
- Try some shells on for size. Find two that look good with each other. This might be harder than it seems, keep in mind each shell is unique you will not find two identical ones.

Living on a lake shells seem to appear everywhere. - Paint the shells with desired nail polish color. Pearly or metallic nail polish works great because it allows the details of the shells to come through. Acrylic paint was too thick.

I wasn't sure if my mermaid was a B or C shell cup - Draw a tail with a pencil by making a waist and a division of the fins.

- Color the tail with nail polish or paint. I gave it two coats to make sure you couldn't see where the white and the black met. Wait for the paint to be completely dry.

First coat of paint. This is where I got really exited because it started to look like a mermaid. - While you wait cut a piece of a clean sponge that is about as long as the tail. (I had a new one I bought my husband and he never used).

- Cover the outline with painter's tape to protect what will be the skin of the mermaid.
- Pick a color for your scales. I used a holographic dark purple. Pour some nail polish on a flat surface, like a plastic container, and wet the makeup sponge with it lightly.

- Place the sponge fabric on the first spot you want to paint. Hold the fabric in place with one hand and dab the paint on with the makeup sponge with the other hand. Repeat this process until you have the entire tail painted. It doesn't have to be perfect. Mine definitely wasn't. Leave it to dry.

- Place two sea shells on her top and one for her necklace with the glue gun. Do not let any mermaid tell you shells make great bras they are terrible. I'm sure it was a merman who invented it.

I found a tiny version of Ariel's necklace - For some finishing touches make a tiny bow with rope and hot glue it as the bikini string. Do the same with the necklace gluing only where it meets the shell(I used gold rope for this). If you want to add tiny pearls, glitter or anything else this is where you do it. Be creative, make your mermaid unique.

I went even smaller with the bow - Take the painter's tape off and let the mermaid watch over your treasures.
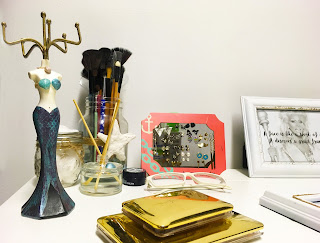


There is a few other mini DIY I made to complete my vanity Sea Glam theme that I'll be covering on another blog post.
I truly hope you all have a wonderful day and lots of good vibes.
No comments:
Post a Comment